At audiosk, we understand the importance of seamless audio connections for ensuring high-quality sound experiences. Connecting a JBL microphone to a speaker is a vital skill for audio professionals, enthusiasts, and anyone looking to enhance their sound setup.
We will guide you through the simple process of establishing a connection between your JBL microphone and speaker. By following our expert advice, you’ll be able to maximize the potential of your audio equipment. You’ll also enjoy clear, powerful sound in any setting.
Whether you’re setting up for a live performance, a conference, or simply enhancing your audio system, our guidance will ensure that you connect your JBL microphone to your speaker effectively.
How Do You Prepare Your JBL Microphone and Speaker for Connection?
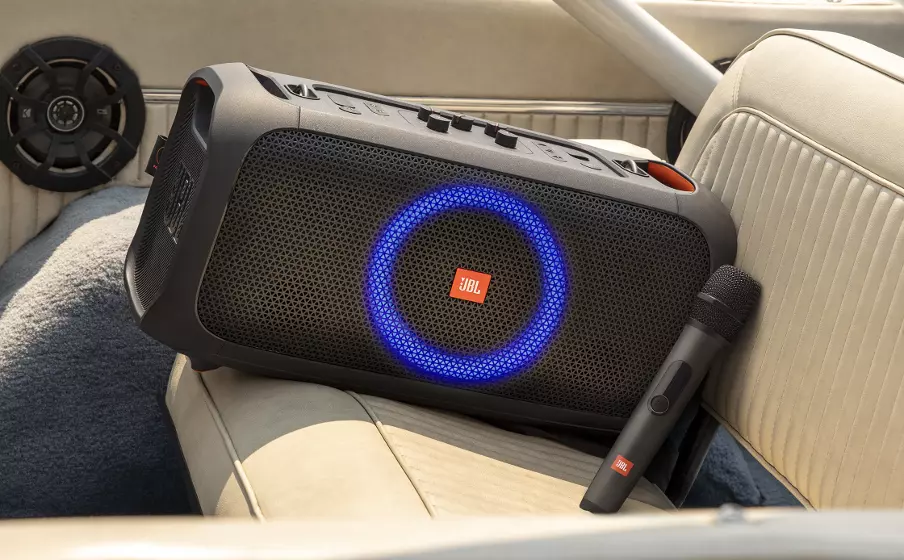
As you get ready whether for a podcast, music session or even public speaking event please follow our step by step instructions to ensure an easy and seamless setup.
Unboxing and Inspecting Your Devices
First of all, unbox your JBL microphone and speaker carefully. Make sure that all pieces are complete and in good order. Check for cables, adapters or user manuals.
Charging Your Devices
Most JBL speakers as well as some microphones are battery-powered and require charging. Charge them fully using the supplied USB cable and plug into a power source.
Positioning Your Devices
Position your JBL speaker where it can function best in terms of sound delivery. For the microphone, find a comfortable place for speaking or singing where it is able to capture sound well.
What Are the Steps to Connect a JBL Microphone to a Speaker?
To connect a JBL microphone to a speaker, follow these general steps. Please note that the exact process may vary slightly depending on the specific models of your JBL microphone and speaker:
Step 1: Charge Your Devices
Make sure that both your JBL microphone and speaker are fully charged. This is necessary for continuous operation, especially in the case of wireless models.
Step 2: Power On Your Devices
Turn on your JBL speaker and microphone. Most JBL speakers come with a separate power button while microphones are usually powered on by simply pressing them and holding.
Step 3: Enable Bluetooth on Your Speaker
Activate Bluetooth on your JBL speaker for a wireless connection. Press the Bluetooth button until the LED light starts blinking which means it is in pairing mode.
Step 4: Pair Your Microphone with the Speaker
Turn on your JBL microphone. If it supports Bluetooth, then automatically search for your speaker. Choose JBL speaker from your Bluetooth microphone menu.
Step 5: Test the Connection
To ensure that there is a linkage, speak or sing into the microphone. Correct the volume and sound settings on both devices to enjoy good audio quality.
Step 6: Enjoy Your Enhanced Audio Experience
Once your JBL microphone and speaker are converted, they will be prepared to deliver excellent sound quality for any audio needs that need them.
Tips for a Smooth Connection
- Bluetooth Range: Make sure your devices are not so remote to have good coverage.
- Interference: Avoid physical obstructions as well as other electronic equipment that could disrupt Bluetooth signals.
- Battery Life: Instead, frequently check your devices’ batteries to avoid sudden shutdowns.
How Can You Test the Connection Between Your JBL Microphone and Speaker?
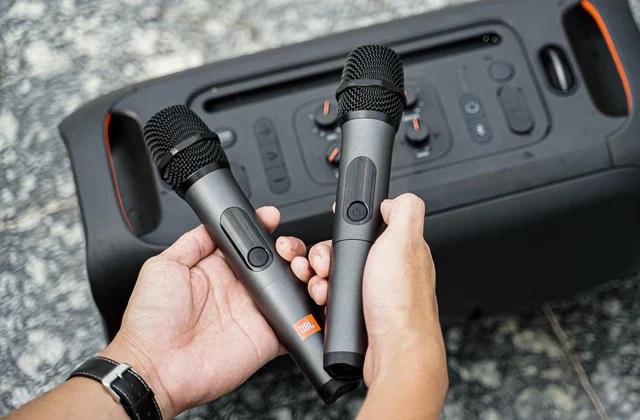
As an experienced sound professional, you have to ensure the proper setting up of your JBL speaker and microphone connections is as vital in getting quality audio output. 1) Both devices should be fully charged and on.
For the Bluetooth versions, ascertain that they are well-paired. Start with a basic sound check: When testing at different volumes, pick out any distortions or interruptions in sound quality.
Also remember the latency – from given input to microphone and output through speaker. Simple clap test can effectively detect such delays.
Moreover, it is desirable to test with the operational range for wireless connections by moving around in the room and noting any disturbances including changes done in sound quality or connectivity stability. With such a holistic approach, your JBL microphone and speaker work together in harmony to give you impeccable audio whether it’s because of a professional event or recording – even if you just want something good to listen to.
What Are the Best Practices for Maintaining Your JBL Microphone and Speaker Connection?
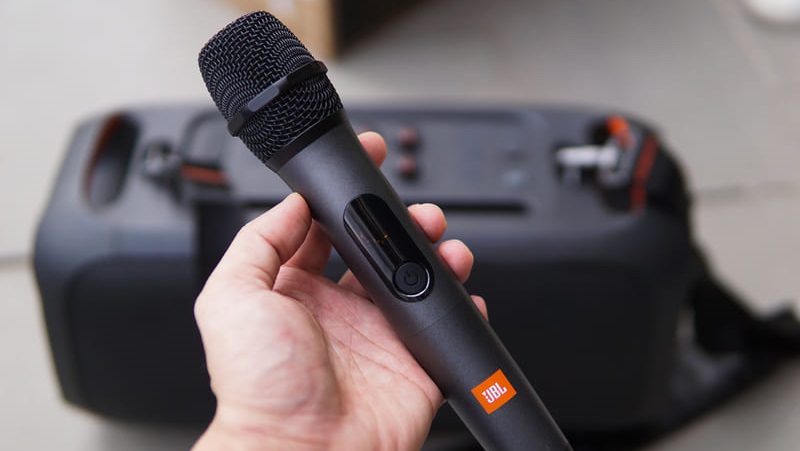
First of all, it is important to regularly check and update the firmware of both devices. We have had various cases where clients were having connectivity problems, but a simple firmware update easily sorted it out.
We also suggest that you regularly clean the microphone and speaker ports.
Additionally, we recommend routinely cleaning the microphone and speaker ports. A client once experienced intermittent sound during a live performance, which was ultimately traced back to dust accumulation in the speaker’s ports.
Also, for those using wireless connections, it’s essential to manage the Bluetooth settings effectively. We advise keeping other Bluetooth devices away from your JBL setup to avoid interference, as experienced by a DJ at a crowded event where multiple devices caused signal disruption.
Lastly, proper storage plays a significant role; we suggest storing your microphone and speaker in a dry, cool place to prevent any damage from moisture or overheating. By following these best practices, you can ensure a reliable and high-quality connection for your JBL devices, enhancing your overall audio experience.
Conclusion
At audiosk, connecting a JBL microphone to a speaker, as we’ve seen in our sound expert roles, is straightforward yet crucial for superior audio experiences. It’s key to ensure both devices are charged, properly paired, and the environment is conducive for optimal Bluetooth connectivity.
Through our experience, we’ve learned the importance of testing and adjusting the sound to suit specific needs. Following these simple steps ensures a seamless, high-quality sound connection, readying you for any event or personal enjoyment. This connection is the foundation of an exceptional audio journey.


