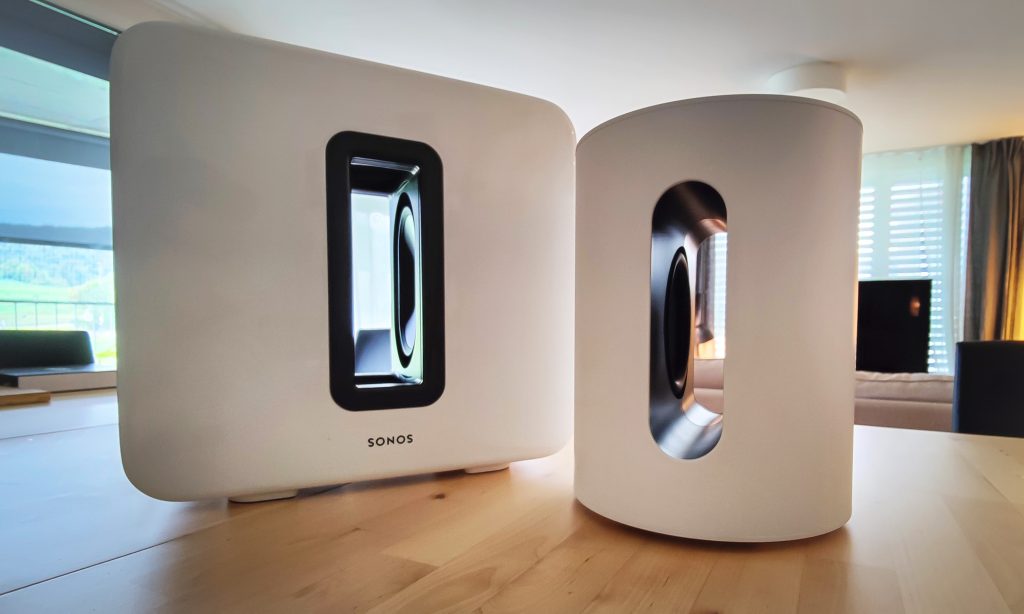
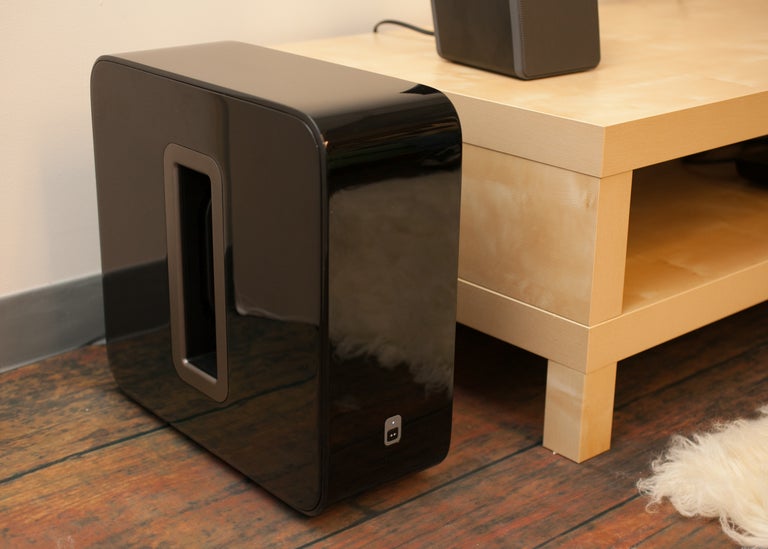
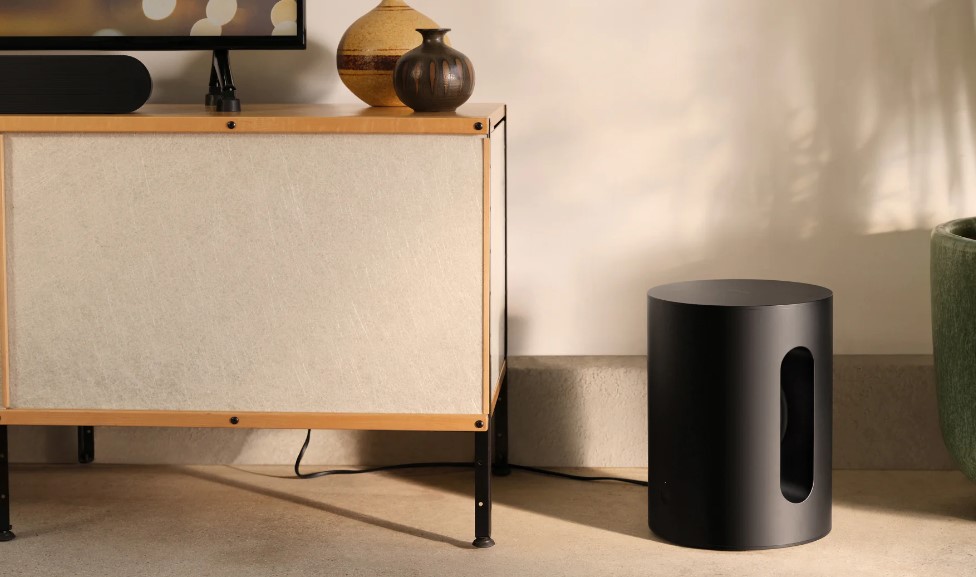
Recently, Sonos introduced their latest addition, the generation 3 wireless subwoofer, boasting a sleek and stylish glossy black design.
The speaker not only adds an aesthetic touch to any space but also impresses with its deep, resonant bass. However, like any sophisticated device, it may occasionally experience performance glitches. In such instances, a simple reset of the subwoofer often resolves the issue.
In this article at audiosk, we’ll guide you through a straightforward for ” How to reset Sonos subwoofer“, ensuring you continue to enjoy an uninterrupted, high-quality audio experience.
Why Do You Need To Reset Your Sonos Subwoofer?
If your Sonos subwoofer is underperforming or facing connectivity issues, a reset might be the solution. This is particularly helpful if it’s making odd noises or not producing sound.
Besides, before selling or gifting your subwoofer, ensure you reset it to factory settings. This clears your data, allowing the new owner to set it up afresh.
A reset is also useful when moving to a new Wi-Fi network, helping the subwoofer forget the old connection and adapt to the new environment.
If other troubleshooting fails, resetting your subwoofer can restore its functionality, although this means reconfiguring your settings from scratch. Remember, we’re here to guide you through the process for a seamless setup.
How To Factory Reset Sonos Subwoofer?
To reset your speaker quickly and most effectively, we will guide you step by step through the 2 methods below:
Method 1: Resetting Sonos Subwoofer
You can reset your Sonos subwoofer in the following 3 steps below:
Step 1: Disconnect Power
Firstly, to safely reset your Sonos subwoofer, disconnect the power source. This can be done in one of two ways.
- Option one involves detaching the power cord from the subwoofer itself, which you’ll find at the bottom of the unit.
- Alternatively, you can cut off the power supply by unplugging the cord from your wall outlet.
It’s important to handle the subwoofer with care during this process. Rough handling could lead to scratches on the sleek surface of your Sonos subwoofer, so we recommend proceeding with gentleness and caution.
Step 2: Perform The Reset
The Sonos Sub features a distinct reset button on its side, which varies depending on the model.
For the first and second-generation Sonos Subwoofers, this button is square-shaped with two arrows. In contrast, the third-generation model boasts a circular button adorned with an infinity symbol.
- Once you’ve disconnected the power supply, take a moment before proceeding. Then, firmly press and hold this button. While holding the button, reconnect the power cord.
- Observe the light indicator: it will initially flash white. You can release the button once it turns red, signaling the start of the reset process.
Step 3: Reconfigure The Subwoofer
Now that you’ve followed the steps, your Sonos Sub is reset to its factory settings.
When you see the light indicator blinking green, it signifies that the reset process is complete. You’re now ready to reconfigure your device according to your preferences.
Method 2: Resetting Sonos Sub with App
Besides the manual reset, there’s also an option to reset your Sonos Sub using the Sonos app.
- Firstly, download and install the Sonos app on your smartphone or tablet. Once installed, open the app and establish a connection between your Sonos Sub and the mobile device.
- Within the app, locate your ‘Sonos Subwoofer’ in the list of available devices. Navigate to ‘Settings’, then select ‘Device Settings’.
- Here, you’ll find the option for ‘Factory Reset’. Select this and follow the instructions provided on your screen.
- After the reset process is complete, you’ll need to reconnect the subwoofer with your TV to resume its use.
Additional tips for resetting your Sonos subwoofer: Hold the Join button down firmly, and don’t let go until the light flashes green. If the light does not flash green, try repeating the steps.
What Are Troubleshooting Common Issues?
In case your Sonos Subwoofer experiences some problems, such as not showing up on Sonos App, then first ensure that you have put it both in the network and in the power source.
You should also make sure that your device is within the range of your network and has no ongoing network/power outages that might impact it in this respect.
Our recommendation for non-reactivating Subwoofer situations is first trying a device restart with Sonos App. However, if the issue persists, the physical reset button that sits at the back of the Subwoofer would be a more direct approach.
It’s important to make sure that the network settings are correct and the network itself is solid when dealing with Subwoofer connecting problems.
In order to address this, a reset of the device and the network may be required. In case this is not the solution, connecting the device to another network can help determine whether the problem lies with the first network.
Why Does My Reset Not Work?
As sound experts, we know how to reset your Sonos subwoofer. It can be attributed to several typical factors when you have a problem.
You need to make sure you hold the join button for at least 5 seconds so that the resetting process can begin.
The second aspect is to confirm the source of power. Make sure your subwoofer is properly plugged into its power cord and a wall outlet. Secondly, ensure that you have powered on your subwoofer. At times, even the simplest of verifications are ignored.
Thirdly, if you have done everything stated above and the reset still goes wrong, there could be a problem with your subwoofer itself.
In such instances, you are advised to contact the Sonos support for more help. They are well enough prepared for such cases and are ready to assist them.
Conclusion
At audiosk with our experience, resetting the Sonos Subwoofer to factory settings is key to getting it working at its best and erasing all your information.
Our guide and helpful hints in this article make it easy for you to know how to factory reset your Sonos Subwoofer? If you need more help or have questions, check out the helpful links we’ve listed at the end.


