After a while, subwoofers lose their power and stop vibrating. I’ve seen it happen to nearly every subwoofer after a lot of use. They often start to buzz. Luckily, it’s not hard to repair. Besides, it’s very convenient to determine whether your subwoofer is broken.
At audiosk, The easiest way to test a subwoofer is with a multimeter. This instrument can really help you to understand what it is that’s happening with this thing.

What is A Subwoofer?
This type of speaker, which reproduces low-pitched audio frequencies (bass and sub bass) is called a subwoofer. These sounds have a lower pitch than normal speakers can manage. So if you think of deep sounds in music or rumbles in movie sound effects, that’s what subwoofers provide.
Whereas ordinary speakers transmit all kinds of sounds, subwoofers target only the lows. So the music or movie sounds weightier & fuller. It’s sort of a second level to the sound you hear.
Many people install subwoofers for home theater systems, car audio systems and public address systems as well to make the bass sound stronger & clearer. These are great in situations where you don’t just want to hear the music or sound effects, but also feel them.
How to Spot a Blown Subwoofer?
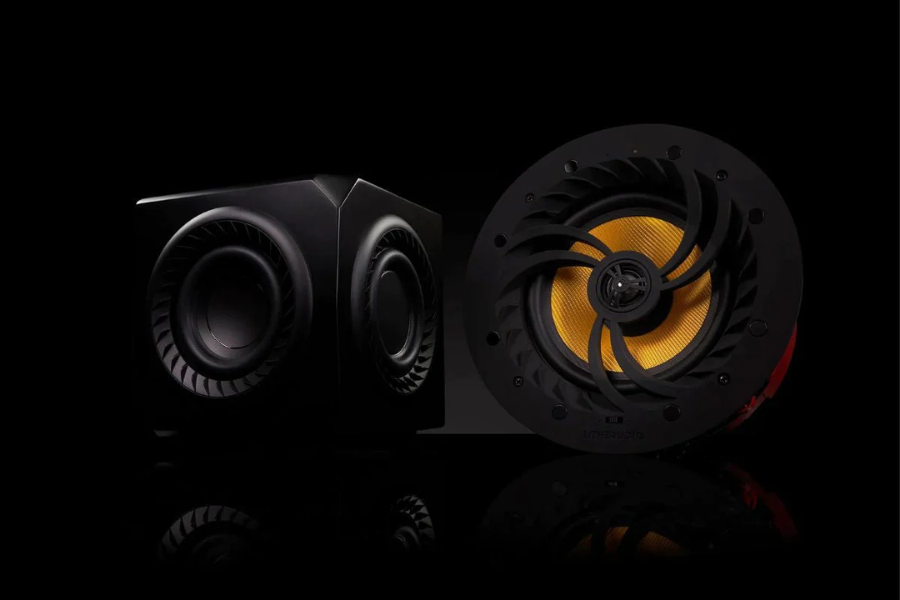
A subwoofer really does make a difference to your sound system. You’ll hear it fast enough if your car subwoofer isn’t working right. Weird sounds or no sound at all in some frequencies could mean your subwoofer has gone. In addition, if your subwoofer’s sound deteriorates, it has probably blown.
Still, just hearing it doesn’t mean you can always tell whether it is blown or not. Therefore, to find out whether your subwoofer speaker really has blown up you have to test it with a meter like a multimeter. This is a good way to see what’s wrong with it.
What are the causes of a blown subwoofer?
Subwoofers are speakers for really low sounds like bass. They produce lower sounds than normal woofers. They blow, however-especially if you use them too much or too loudly.
You can blow your subwoofer by running it above its normal power for too long. Also, if it gets a particularly bad signal then it could go bang. Most people stop working because they get too much signal in the sound system of your car. This causes something called clipping.
When the sound signals rise too high for the amplifier’s power supply, it is clipping that occurs. This clips part of the signal, but can damage both the amplifier and subwoofer. If this continues, your subwoofer gets seriously damaged.
What’s a Multimeter?
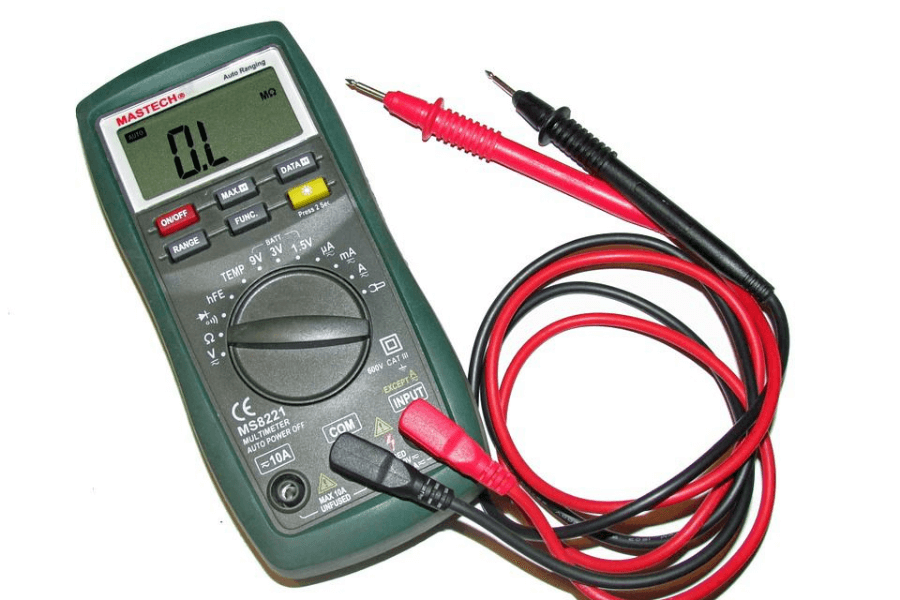
A multimeter is a tool that measures different things in electronics. It can check how much electricity is flowing, how much power something uses, and how hard it is for electricity to move through something. Newer multimeters can also measure how much something stores electricity, if there’s a complete electric path, heat, how much it can hold power, and how often electricity waves happen.
There are two kinds:
- Analog Multimeters: They indicate the results with a moving hand on a scale. Now people don’t use them much, but they are still good for seeing changes rapidly.
- Digital Multimeters (DMMs): These are numbers displayed on a screen. As they are more precise, don’t break easily and can impart greater information, this is what most people use.
Inside the toolbox there are different types of multimeters for people who work with electricity, such as electricians and those who like making electronic things. They use them to troubleshoot electrical glitches in various gadgets and systems.
How to Test a Subwoofer with a Digital Multimeter in 7 Steps?
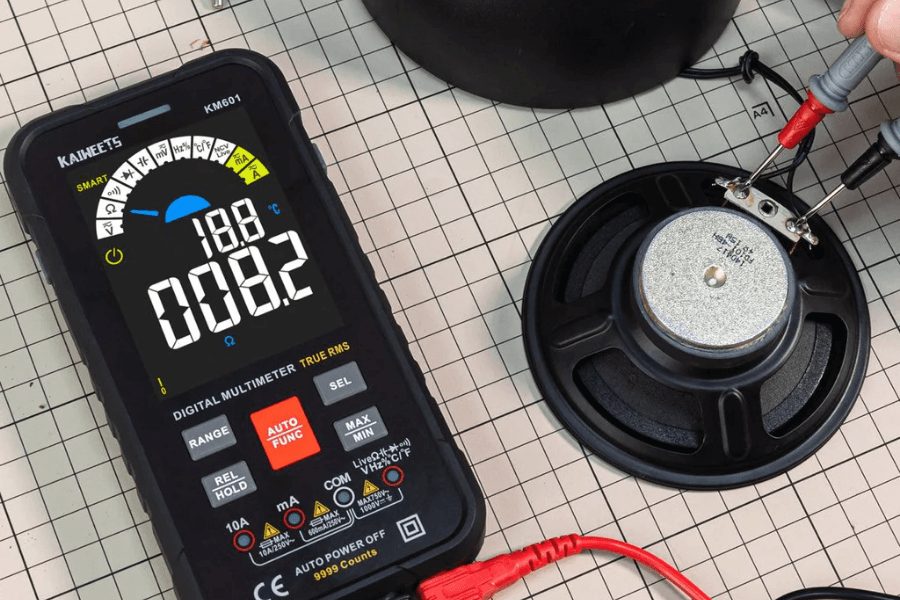
Using a digital multimeter, testing a subwoofer is easy and goes like this. Let’s break it down into a detailed guide:
- Switch Off the Subwoofer: First, make sure your subwoofer is completely shut off and not connected to any power source. This is important both for accurate measurements and for safety reasons.
- Organize Cords and Wires: Next, take care to tighten and undo all the cords and wires connected with the subwoofer. This holds true for both the input cables and power cables. This 010 during testing.
- Remove the Subwoofer from Its Enclosure: Take the subwoofer out of its enclosure or case. The design and model of your subwoofer may determine whether you have to disassemble some parts of the woofer in order to get at the voice coils. This step may require a few tools and some patience.
- Access the Voice Coil: Now that you have successfully reached the voice coil of the subwoofer, it is time to prepare for actual testing. The subwoofer’s voice coil is a key component that generates noise.
- Connect the Multimeter’s Positive Probe: Today, connect the red (+) probe of your multimeter to the positive terminal of the voice coil. Make sure it’s a secure and correct connection for an accurate reading.
- Attach the Multimeter’s Negative Probe: Also, hook the negative (usually black) probe of a multimeter to the negative terminal on your voice coil. This constructs a circuit for the multimeter to measure subwoofer resistance.
- Turn On the Multimeter and Measure: Finally, turn on your multimeter and set it to the Ohms (Ω) measurement setting. This is the setting used to measure resistance. The reading on the multimeter will indicate the resistance level of your subwoofer’s voice coil. A stable and expected resistance value typically means your subwoofer is in good condition. However, if the resistance is significantly different from the expected value, it might indicate a problem with the subwoofer, such as a blown-out component.
Conclusion
At audiosk, to test a subwoofer with a device known as the multimeter: First, remove that big part from where it sits. You’ll need a star-shaped screwdriver that isn’t too short or too big. After that, connect the red and black ends of the multimeter to the subwoofer’s corresponding parts. Turn on the multimeter and set it to read Ohms. This will tell you how much power the subwoofer can resist.


